
Optical imaging systems are a part of our day-to-day lives and as such there are many tasks we do automatically without or with little thought for example, focusing. In an event-based camera this seemingly trivial task becomes a challenge that has to be taken care of when we plan our optical system as part of our optical alignment procedure.
This is the second post in my event-based cameras post series. If you have not as yet read the first post in the series, I strongly suggest that you do since in this post I use a neuromorphic camera whose specific terms were explained in the previous post.
The Challenge – Get the Optical Path in Focus
First, a quick explanation. Usually, when we focus our system, we try to have our imaging system as still and stable as possible and by so doing getting the best achievable image possible. This particular aspiration for scene stability is counter-productive in event-based cameras since the higher the stability of the optical system with its scene the fewer events we get which in turn makes our image construction, if any end up with less details.
This means that we must find a way to create a detailed enough image that will be a part of our optical system calibration and alignment procedures. Specifically in event-based cameras we cannot leave it to “the field” to solve this issue, it must be part of the system design.
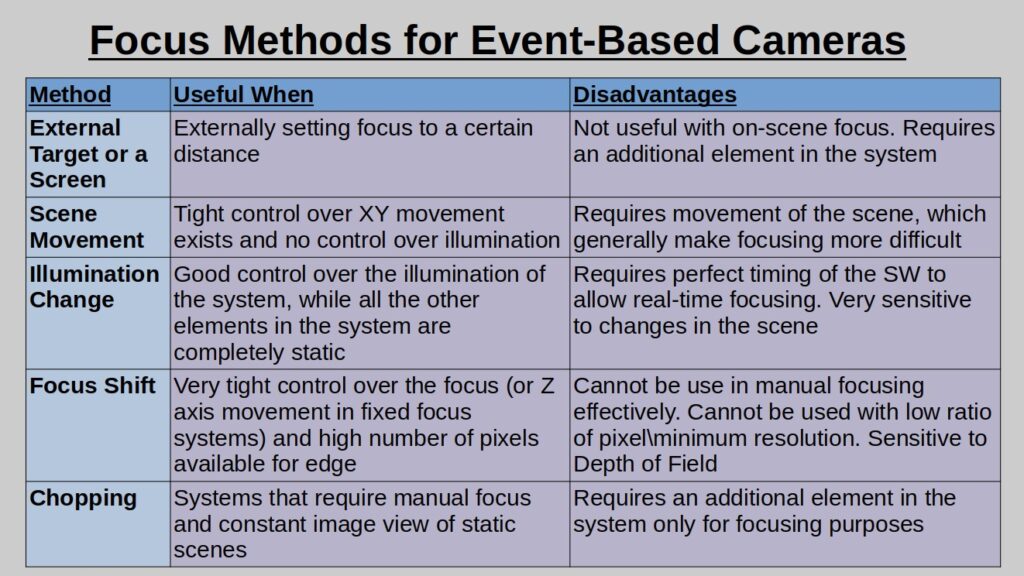
Our aim is to focus the optics on our target without using another target i.e. focus on the scene, this unlike the suggestion in this link that uses an external blinking target on a screen which is good when we need to set the focus to a certain value and we have the option of calibrating the focus outside the scene without the need for re-alignment in the scene.
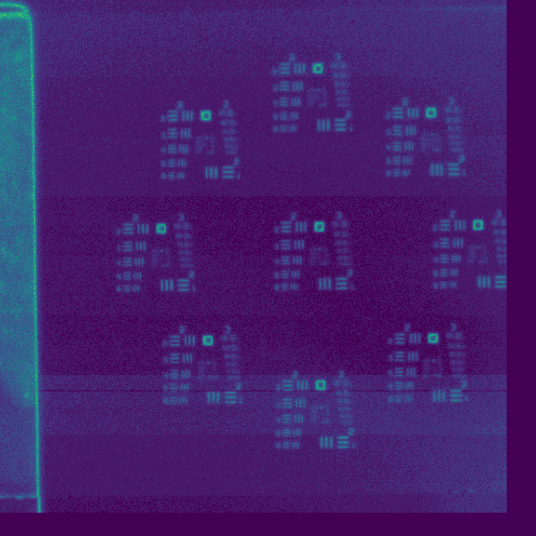
Let’s have a look at a real life example. We are still with the IDS Imaging EventBasedSensor Eval-Kit ES with the Sony IMX636 and the Prophesee Metavision SDK, with the OPT-C1618-5M lens, this time with a set of 9 USAF1951 targets inside our Field Of View (FOV) illuminated by white light from an RGB LED spread in semi-wide angle over a white piece of paper as back-illumination to target.
The camera was provided by courtesy of OpteamX.
Here we will explore 4 focus methods for event-based systems: Scene Movement, Illumination Change, Focus Shift and Chopper.
Scene Movement – Moving the Target or the Imaging Optics
We require scene movement for image creation, don’t we? Let’s move the scene. If we move either the USAF1951 target or the camera+lens assembly we will create a “by-product” that will allow us to see the target in our camera. The following movie was taken with movement of the camera+lens assembly while the target and the illumination stayed stationary. The image construction is event accumulation with accumulation window of 66ms per image and 30 frames per second (FPS) where white is “on” events and black is “off” events.
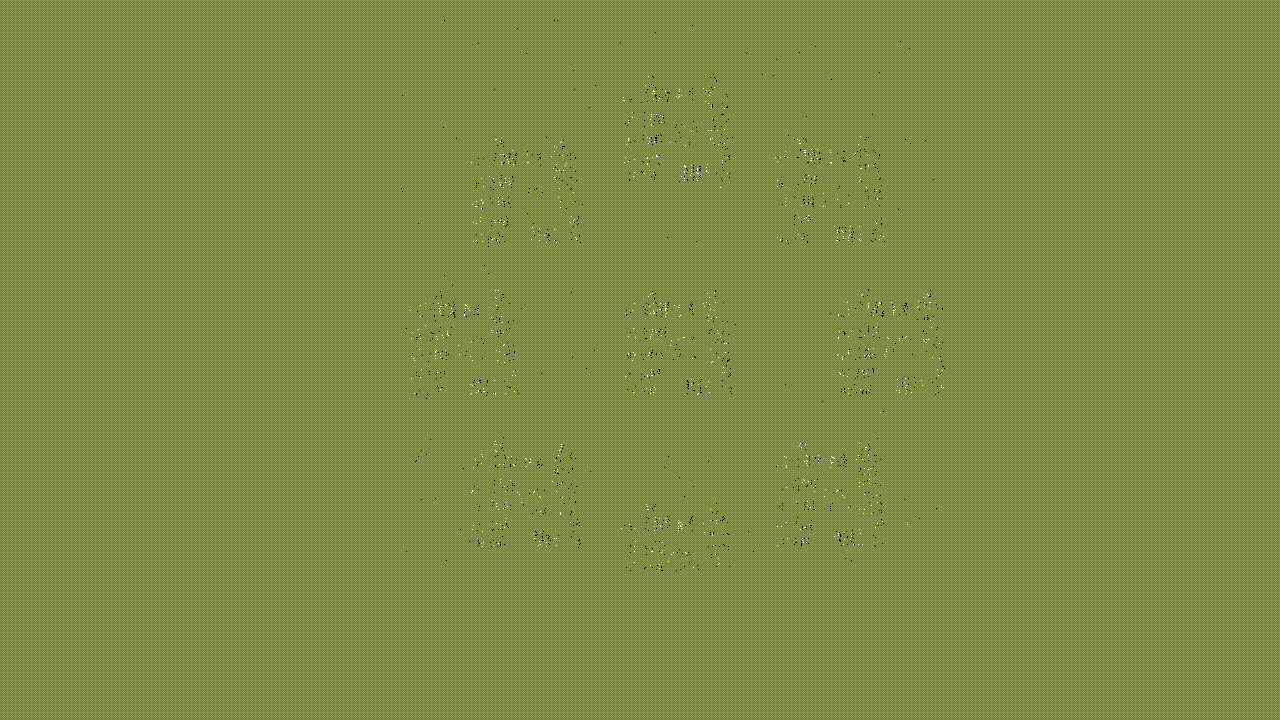
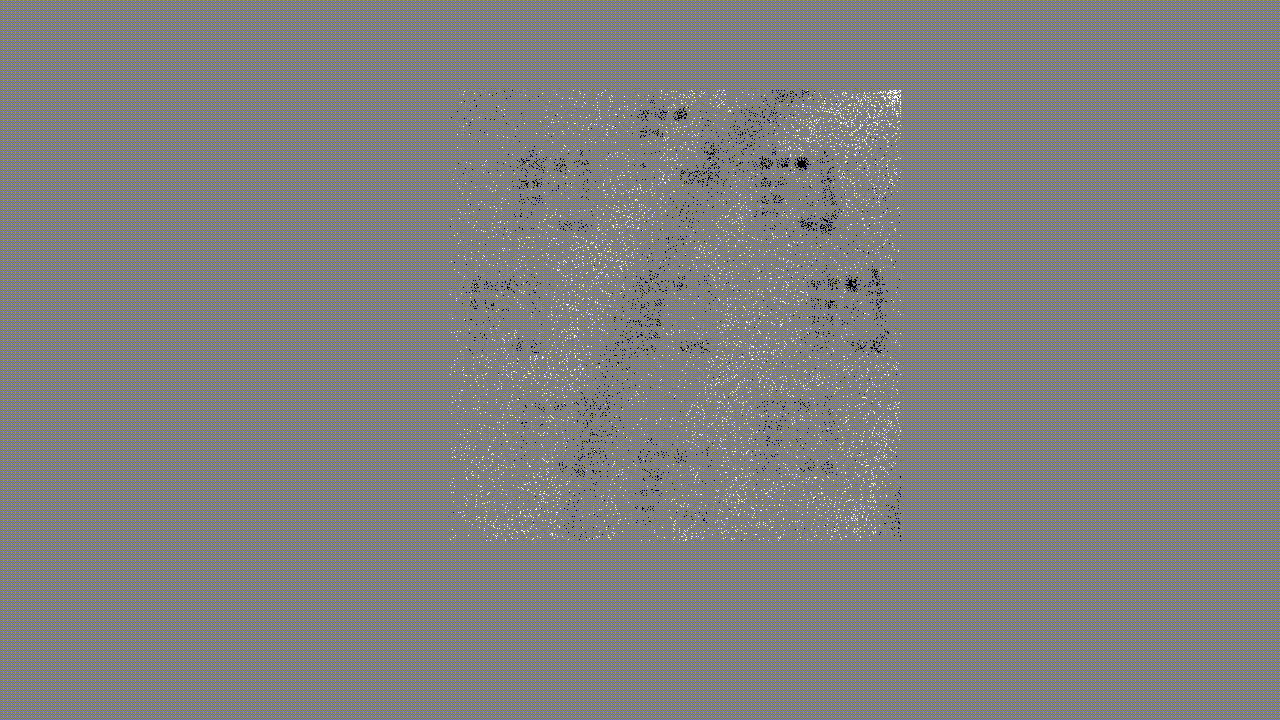
In this movie we see our target moving from right to left and if we observe closely, we could resolve up to groups 3-5 \ 3-6, which is quite good considering that the best resolution we could get with a static scene is group 4-1 with the lens at this setup. BTW, in cases like this we are very thankful that the USAF1951 target includes both horizontal and vertical lines.
This focusing method is useful in optical systems where the illumination is set and there is a very tight control mechanism to move the optics \ target in both X and Y directions that will allow the system to move in fine movements to allow constant image creation.
Illumination Change – Blinking
From the event-based camera point of view, a movement of the scene or a change in illumination will be recorded as an event all the same. Blinking of the illumination is the obvious choice in our particular case, as follows:

The movie recorded a single turn-on of the LED illumination and was constructed by accumulating 33ms for each frame and run in 30FPS, where red is “on” events and blue is “off” events. It is clear that we cannot really see anything useful using this “standard” frame rate for this method, so let’s look at the exact same event flow, but with a division equivalent of 10,000FPS in slow motion, where each frame is the accumulation of 350us of events.

We may even locate the exact timing of that frame and get a static frame rather than a movie. Below you can see such an image, accumulated over 1100us of only “on” events in the exact time of the illumination start and a zoom-in of the same image over the center target.
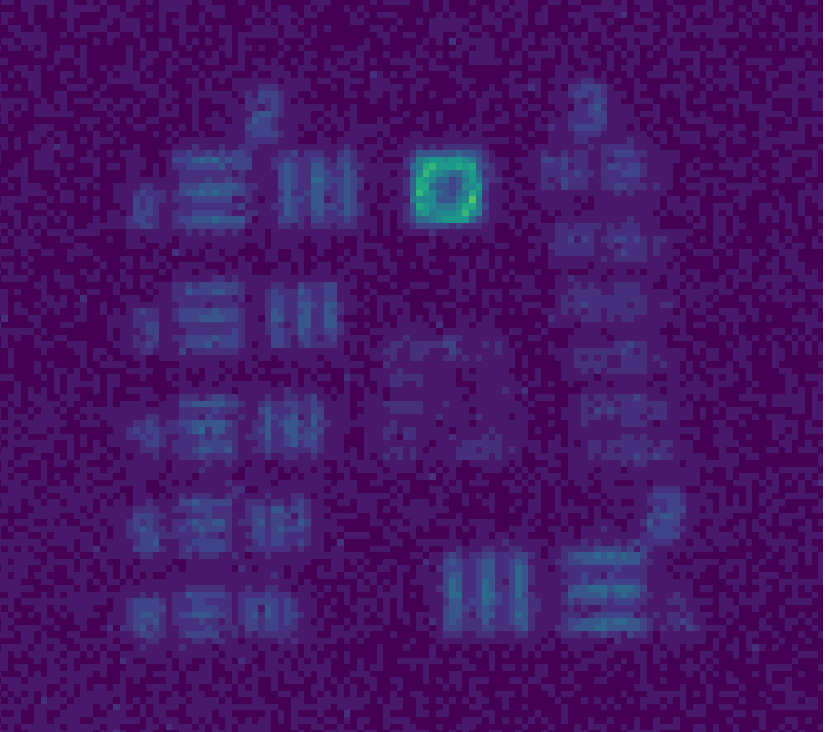
We may see that we get the same order of resolution group as before.
This focusing method is useful when we have good control over our illumination and the illumination can be lit and shut-down uniformly enough to cover the target properly and where everything else in the system is completely static. For real-time use of this method during focus a supporting SW for image processing and image rendering must be employed because as seen above the exact timing of the image rendering and accumulation is the difference between a clear image and a non-useful one.
Focus Shift – Keep Changing the Focus Until Convergence
This method uses the fact that the image changes when taken at different defocus levels. In the cases where we have enough pixels per minimum resolution level and very accurate control of our focus, either by changing the distance to the target in fixed focus lenses or by changing the focus in vari-focus lenses. The resulting movie for 50ms accumulation time per frame and where red is “on” events and blue is “off” events would look like this:

This movie also has the benefit of giving us information whether we are going into focus or out of focus according to the different red-blue relation in the image. You may see that this movie shows the transition from rough focus to fine focus, until convergence into the depth of field where the image does not change.
Chopper – Cut the Scene

Yes, as simple as that. We simply add a device that cuts-off the illumination now and then to allow event creation so we could be able to construct a humanly read image from the event steam. For example, an optical chopper which is a device that periodically blocks \ transfers a light beam.
I have improvised a chopper using a simple DC motor with two 5mm wings that was inserted between the collection lens and the target to achieve the following results:
This movie is a 30FPS where each frame is an accumulation of 10ms of events and like previously, white is “on” events and black is “off” events. We may see that we nearly have a “normal” image. Black target lines over a white background in a continuous movie that allows us to work and change the focus in real-time.
This method has a very big advantage of allowing us to work undisturbed in real-time however, you may notice that the end result in focus has lower resolution than the other methods and of course it requires an additional device to be inserted between our collection optics and our target.
To make things easier to follow see the following table which compares 5 methods listed (the 4 above plus external screen).
As usual in this post we cannot cover everything here and there are obviously more methods that we may use for focusing our neuromorphic camera based optical system but, unless we are dealing with a very specific application, the method will be a variation of one of the methods detailed above. One may even consider the illumination change and the chopper or the scene movement and focus change as variations of the same methods.
This is a good place to stop our discussion for this post in which we covered the main basic methods that we could use when we are required to focus our optical path. In the next post in this series, we will discuss camera-based applications and the other challenges they present.