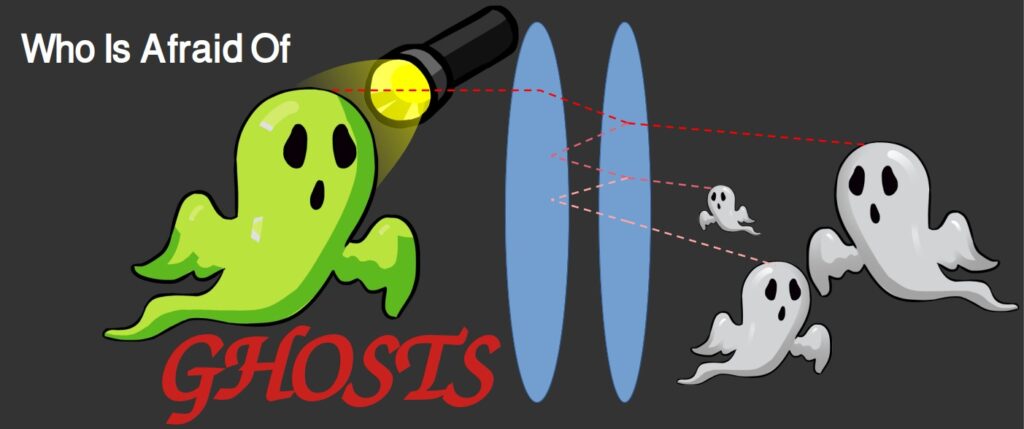
I personally do not believe in ghosts but that does not mean they do not exist! It only means I haven’t seen compelling evidence for their existence. However, in an optical imaging system sometimes ghosts are a real pain and a major headache. A ghost in imaging systems is the case where unwanted light finds its way into our image detector and creates some kind of an image. Do not confuse this with ghost imaging which is a quantum imaging technique that uses two light fields where one of which does not interact with the object, hence its name.
This is the first of a two posts series about ghosts in imaging systems. This post concentrates on ghosts that originate in objects that exist inside our Field of View (FOV).
Simulating Ghosts
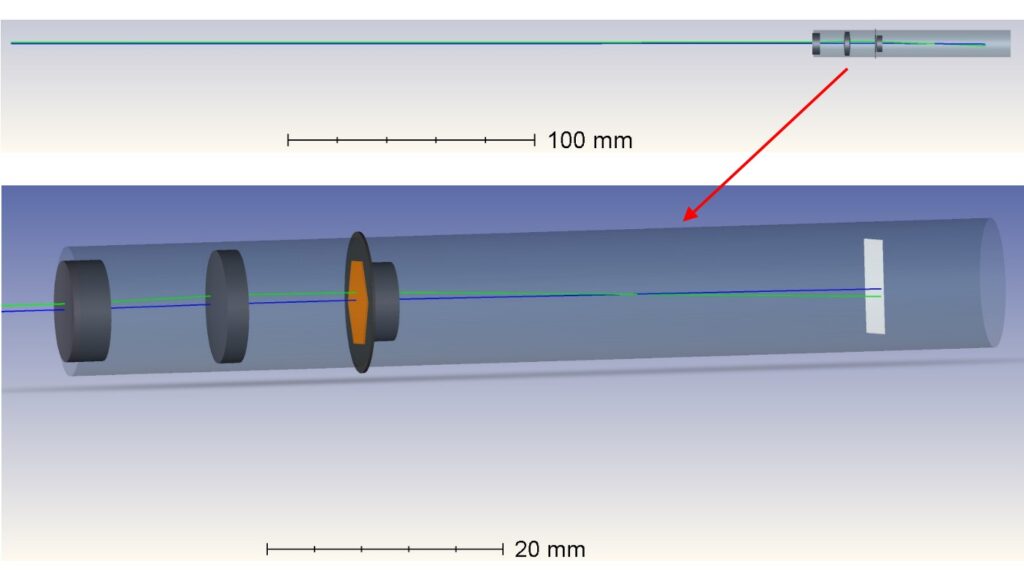
For simplicity let’s take for example a lens system with 3 elements: a negative lens f=-23.7mm, a positive lens f=26.2mm and another positive lens f=28.9mm. The distances between the lenses adjust the focus. The aperture is hexagonal in orange color, just before the third lens. All aberrations are set aside for this discussion since the aberrations will not change the essence of things. See below the sketches of the optical system set to focus on an object in distance of 35mm.

In the Zemax simulation the lenses were equipped with realistic anti-reflective coating of 98% to 99.5% transmission ratios and 2 light sources were added, this time out of focus in distance of 350mm and the lenses were inserted into an absorbing pipe in order to eliminate any stray light that does not travel through the lenses themselves. See the shaded models below, with zoom in on the lenses.

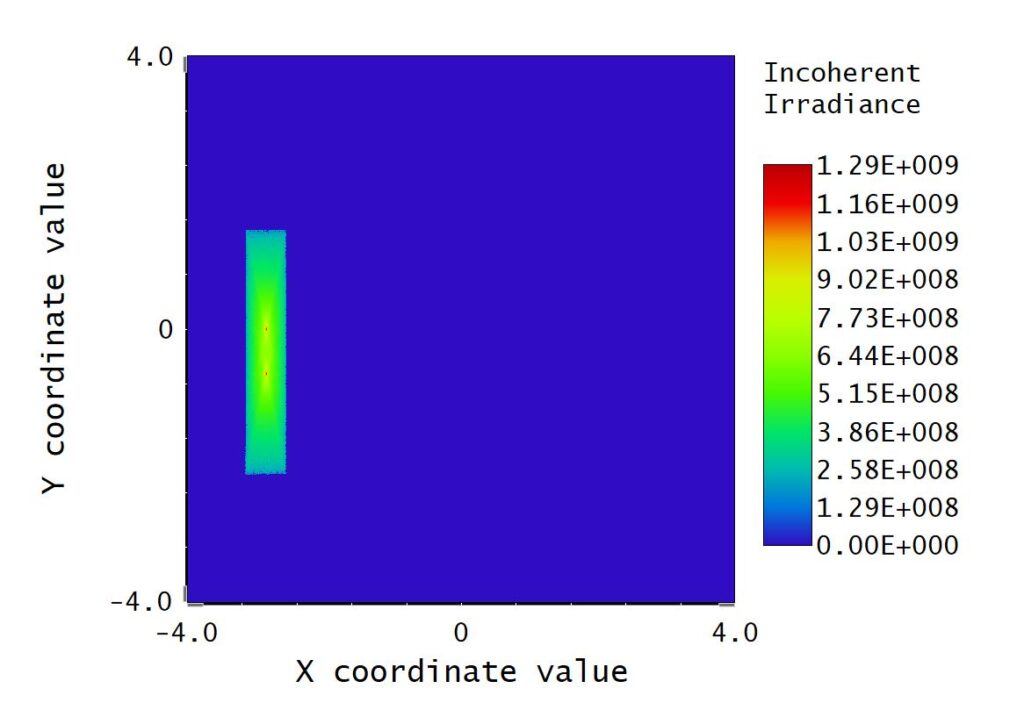
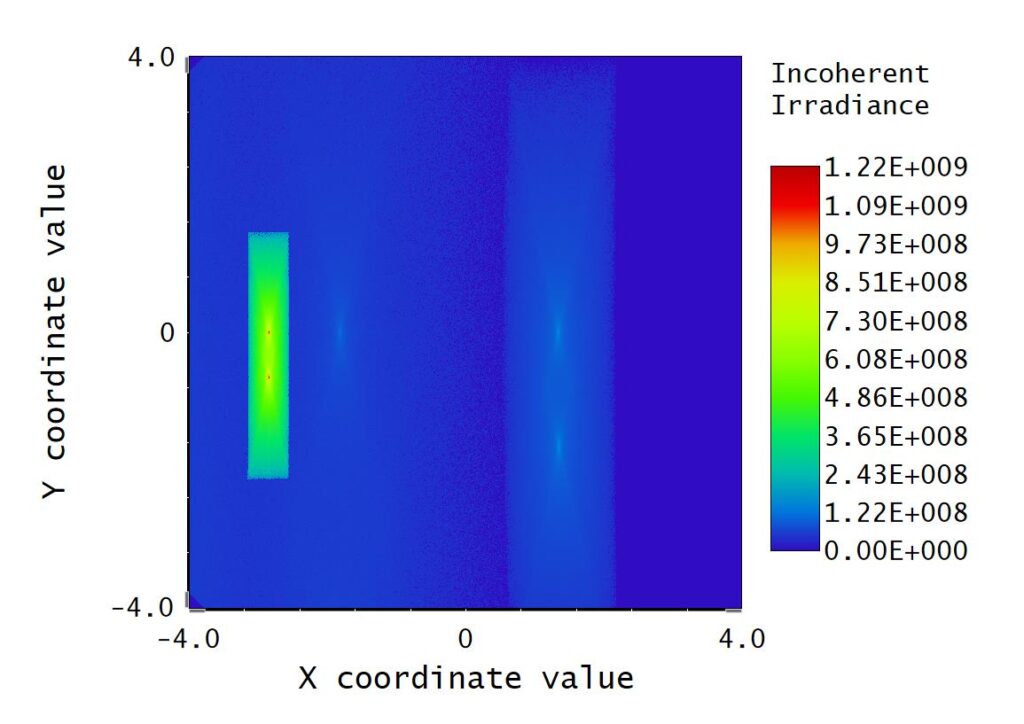
And now for the ray tracing. The ray tracing simulation ran in two modes: the first mode did not take internal reflections into account, i.e. the rays do not split and go only “forward”. The second mode took into account internal reflections that consider the anti-reflective coating and Fresnel transmission and reflection principals, a mode which obviously is closer to reality. See images below with enhanced contrast scaling to better show the phenomenon.


We clearly see that without the internal reflections there is only the imaged light source but when taking into consideration internal reflections we get a second and weak light pattern on the right, a “ghost” of the original light source pattern and there is even an even fainter second ghost in between them.
Where did that ghost come from? Well, the shaded model above was not entirely correct because we kept only one ray per source and did not split it over the different lens surfaces, so below is a more realistic view of the rays (in this simulation we do not take into account their intensity):

Note that there are additional rays that reach the sensor, on top of the single original one.
Without going into the maths of things (and there is a very complicated math behind it), the ghost image is formed when there is a secondary imaging path for the object that is formed via an even number of reflections inside the optical system. The complexity of it is when a primary ghost is the origin “object” for a secondary ghost to a third order ghost and so on. Ghost formation will strongly depend on the materials and shapes of the optical components inside the system and the orientation of the different components towards one-another. Note also that there are more rays that are stopped on the absorbing surfaces – the external pipe and the aperture stop. To make things even more complicated for calculation, in the real world a residue of these rays sometimes survives to create another source of reflection. The analysis searching for ghosts is called stray-light analysis in which we look for the rays that do not go to their rightful place. Unlike in aberrations where the rays reach the wrong place in the image, stray rays need to be stopped or eliminated so they will not reach the image at all.
Real World Ghosts
Now from simulation to real images. The system included the OPT-C1618-5M lens and the IDS U3-3040LE-M-GL camera. The lens was focused on a screw head that was placed 160mm from the lens edge and a LED strip was placed inside the FOV of the lens 550mm from the lens edge. BTW, I am sure the lens itself has more components than simulated above (for aberrations correction) but I assume the main groups are simulated correctly for the sake of our ghost discussion.
Let’s take a look at the following image that was taken with ambient side and top lights when the camera set the exposure automatically to 3ms when exposure target area on the screw head:

Beautiful, isn’t it? ![]() The screw head is in focus, the LED strip is out of focus, no scary and unknown patterns and everyone is happy. But perhaps our happiness is premature?
The screw head is in focus, the LED strip is out of focus, no scary and unknown patterns and everyone is happy. But perhaps our happiness is premature?
Those of you with a keen eye may notice on the rod a very faint horizontal light traces. See below 2 digital image enhancements of the same image to emphasize this phenomenon in this particular image (one the black and white are inverted as some may find it easier to notice subtle grey level differences):


In order to better show this light trace, the following image was taken with longer camera exposure time (15ms) and with only top ambient light:

To be sure that these traces of light originate in the LED strip, the following 2 images were taken with the same 15ms exposure time and no light but the LED strip in horizontal and vertical orientation:


In this example we have clearly established that the origin of the ghost image is in the LED strip. We even have a somewhat better focused image of the LEDs themselves, which we did not have before. BTW, this is why I refer to it as the “easy” to identify ghost – both the ghost image and the origin of the ghost appear in the image in the same form (in different foci, but still). In the next post of this series, we will see that sometimes even a light source that does not appear in the image, like the sun, may cause ghosts that will interfere with our image.
Now for the practicality of things: In an application where every grey level of each and every pixel counts, such a ghost image may ruin the sensitivity in that area of the image. However, when we look at the original image, the ghost image is in the order of 5-10 grey level and it’s when the LED strip is totally saturated in the image, so for a standard images when we take photos of our children it is very unlikely that such a saturated area will appear in the image and that is unless we are shooting when a bright light is behind our kids and to be frank, they would probably not turn out to be the best photos of our children.
So as usual in this blog, whether the image is “haunted” is a matter of the application of our optical system or our imaging system requirements. In some applications it will be negligible to completely undetected while in other applications it will be the difference between a working product and a “throw-away” technology. There are techniques to eliminate ghost images but we will not explore them in this post.
That’s it for now. We have seen that not every piece of light that reaches the sensor in an optical system is desired and demonstrated one source of such ghost image. I will leave you with famous last words: I truly hope you will never encounter a ghost! ![]()

